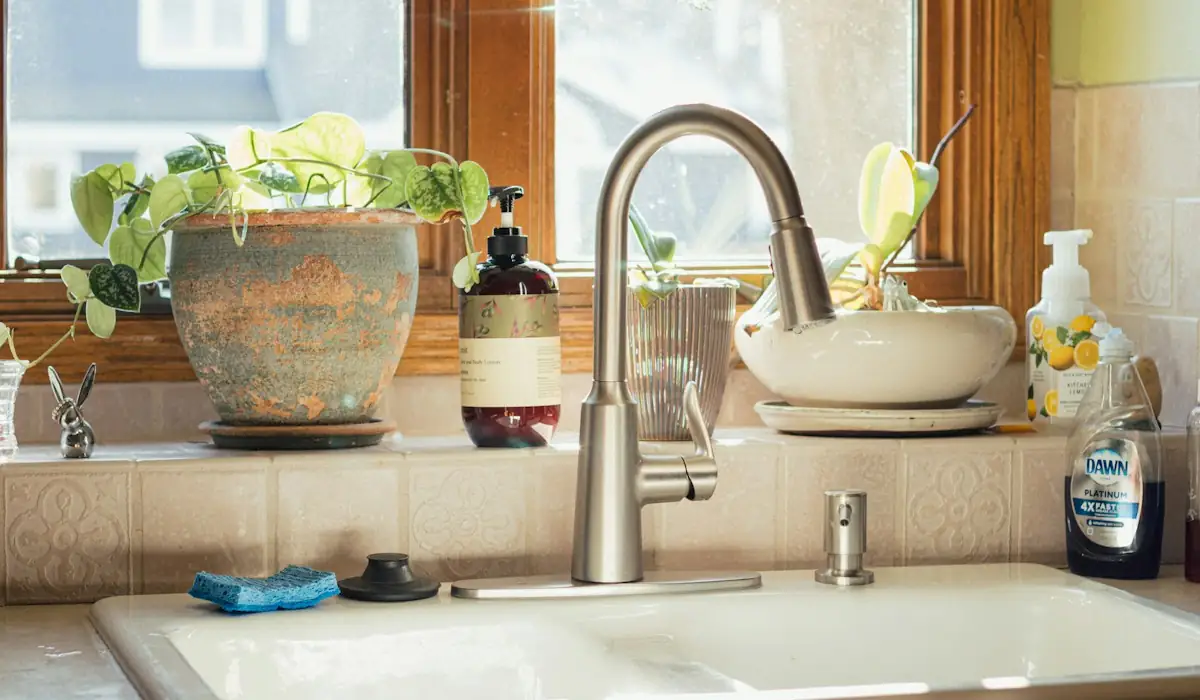
Identify the faucet
Look for the brand name on the faucet body or escutcheon. Note the model if you have the box or manual. Cartridges are brand-specific and sometimes model-specific, so taking the old one to the store is the surest way to match it.
Step by step
- Close both supply valves under the sink and open the faucet to relieve pressure.
- Plug the drain so screws and clips do not disappear.
- Pop off the decorative cap and remove the handle screw with an Allen key or screwdriver.
- Remove the dome cap or bonnet, then the retaining nut or clip.
- Note the direction of the cartridge and pull it straight up. Pliers help if it is stuck.
- Insert the new cartridge in the same orientation, reinstall the nut, cap and handle.
- Open supply valves slowly and test hot and cold.
Common mistakes
- Overtightening the retaining nut, which makes the handle stiff.
- Forgetting to close the supply valves fully.
- Buying a universal cartridge that does not fit properly.
When to call
If the valves under the sink will not close or the faucet body is corroded, our faucet repair service handles both and can replace stops at the same time.
Two-handle faucets
Older two-handle kitchen faucets use a separate stem or ceramic disc for hot and cold. The process is the same for each side: shut the water, remove the handle, unscrew the stem and replace either the rubber washer and seat or the whole cartridge. Change both sides at once; the second is usually close behind the first.
Flush the line
After any cartridge change, remove the aerator and run water for half a minute. Grit loosened from the valves can lodge in the aerator screen and make it seem like the new cartridge is not working.
Tools worth keeping in the basement
- Two plungers: a flanged one for bowls, a flat cup for basins
- A hand snake around twenty-five feet long
- Adjustable and basin wrenches
- A bucket, rags and a flashlight
- A tag on the main shut-off valve
Ready when you are. One call, a real plumber, an arrival window.
Call now(365) 517-6415